
An attractive framed or illuminated mirror is held against a full mirrored vanity wall, but nobody can identify what supports the existing glass or where the electrical cable can be serviced. Before ordering, decide whether the project should proceed as an overlay, pause for investigation, or remove the mirrored wall. Guessing can turn a controlled bathroom remodel design into broken glass, damaged waterproofing, corroded edges, poor lighting, or destructive maintenance.
Can a second mirror be installed safely over a mirrored bathroom wall?
A second mirror can sometimes cover a mirrored bathroom wall, but only after confirming the existing glass condition, attachment, safety classification, substrate and load path, then checking the new assembly’s total weight, wet-area exposure, electrical features and jurisdictional requirements.
| Decision | Conditions | Next action |
|---|---|---|
| Proceed | Sound glass and verified structural support | Coordinate fixings, wiring and waterproofing |
| Investigate | Unknown bond, substrate or service routes | Survey and open selected areas safely |
| Remove and rebuild | Loose, cracked, corroded or unsuitable glass | Expose and correct the wall assembly |
What must be surveyed before specifying a mirror-on-mirror bathroom installation?
The survey should record mirror dimensions, thickness, glass type, safety backing or certification, installation date, edge condition and retention method. Safety glazing may be tempered or laminated to reduce impact injury. Recognised US test references include ANSI Z97.1 and CPSC 16 CFR 1201, while SGCC certification indicates that a product passed one or more applicable safety-glazing standards. Local rules determine where compliant glazing is required.
A glazier and the relevant trades should check cracks, chips, blackening, hollow areas, movement, failed sealant, distortion and moisture staining. Non-destructive scanning, drawings and controlled opening-up can locate studs, masonry, sheathing, waterproofing, wiring and plumbing without speculative drilling. Record the proposed mirror, frame, brackets, lights, driver and demister weight as one assembly.
Certification marks should also be documented. For example, Delaware law requires safety glazing in hazardous locations to carry a permanent label identifying details including glazing type, nominal thickness and standards compliance. Requirements vary by jurisdiction. Accessible projects should also preserve required approach space; the US Department of Justice’s 2010 ADA Standards specify a 30 by 48 inch clear floor space for wheelchair positioning.
When should the existing mirrored bathroom wall be removed instead?
Remove the existing mirror when a glazier rejects damaged, delaminating, insecure or heavily corroded glass, or when failed waterproofing, concealed services or an unsuitable substrate requires access. Compare overlay, selective opening and replacement by investigation time, trade coordination, warranty effects, programme, finishing and future access. The decisive question is whether a verified load path can support the complete new assembly.
The new bathroom mirror must be supported by a verified load path, not by assumptions about the existing glass
The safest fixing strategy transfers the complete mirror assembly’s dead load to verified framing, masonry, concrete or rated backing. The design must account for bracket geometry, eccentric loading, anchor capacity, glass clearances, concealed services, waterproofing and the fixing manufacturer’s required design margin.
Which mechanical fixings can carry a mirror over an existing mirrored wall?
Calculate the installed weight of the glass, frame, mounting hardware, lighting, driver, demister pad, cables and accessories. Trace that load through every rail, bracket, anchor and fastener to studs, noggins, backing plates, masonry or concrete whose location and capacity have been confirmed.
- Continuous rails and French cleats: These can distribute load across several structural fixing points. Confirm accidental-uplift restraint, adjustment range, ventilation space, frame overlap and whether the mirror can lift off for servicing.
- Bottom channels and mirror clips: A channel may carry vertical load while upper clips restrain forward movement. Check glass thickness, clip capacity, edge clearance, visible hardware, corrosion resistance and compatibility with safety backing.
- Standoffs and security brackets: These create a defined cavity for lighting or cables but concentrate forces at discrete points. Manufacturer data must cover the substrate, fastener type, standoff depth, mirror weight and prying forces.
- Proprietary illuminated-mirror mounts: Use the supplied mount only within its stated limits. Confirm that it accommodates the frame, demister, driver, cable entry, ventilation gap and planned removal procedure.
Oversized, unusually heavy, cantilevered or poorly documented assemblies require review by a structural engineer, fixing specialist or qualified glazier. Local safety-glazing rules also matter because failure to see glass, slips and falls, and deliberate impact are recognised contributors to glass accidents.
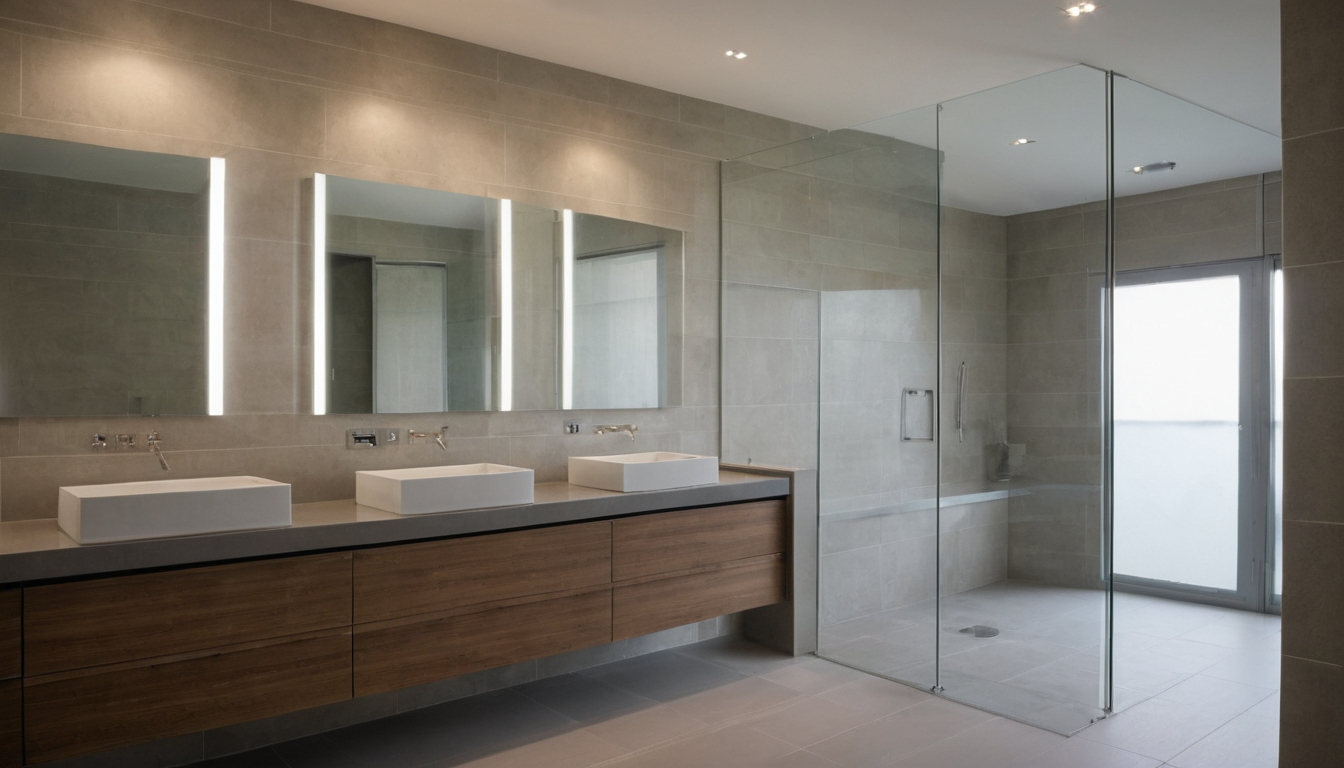
The new bathroom mirror must be supported by a verified load path, not by assumptions about the existing glass shown with finish, fixture, and clearance relationships visible.
Hazardous-location provisions are jurisdiction-specific. The Safety Glazing Certification Council notes examples in model-code guidance, including certain glazing within 24 inches of a door and below 60 inches, and certain windows larger than 9 square feet with a bottom edge below 18 inches near a walking surface. These window provisions should not be applied to a bathroom mirror without confirmation from the local authority. Delaware law also allows inspectors to identify additional hazardous locations and prohibits non-safety glazing where its hazardous-location provisions apply.
Can installers drill through an existing bathroom mirror?
Tempered glass cannot be drilled, cut or notched after tempering. Required holes must be fabricated before heat treatment. Annealed, heat-strengthened, laminated and safety-backed mirrors present different breakage, backing and tooling constraints, so site drilling must be a glazier-led, project-specific decision rather than a DIY operation.
- Identify the existing glass type, thickness, backing, edge condition, attachment method and certification marks before proposing a hole.
- Obtain the fabricator’s requirements for hole diameter, edge distance, clearance, cooling, isolating washers, hardware torque and metal-to-glass separation.
- Protect occupants and finishes from breakage and drilling debris, then scan behind the location for wiring, pipework, framing and waterproofing.
How should mirror fixings avoid damaging waterproofing and concealed services?
A structurally secure anchor can still create a leak or strike a cable. Compare fixing positions with as-built drawings, service-detection findings and controlled opening-up evidence. The waterproofer must approve penetrations, compatible sealants, collars, repair procedures and inspection requirements for the installed membrane.
- Check local restrictions for penetrations near showers, baths, basins and regulated electrical bathroom zones.
- Assign responsibility among the glazier, builder, waterproofer and electrician before drilling begins.
- Record fixing positions and service routes so the mirror can later be removed without exploratory damage.
Once the mechanical load path is defensible, decide whether adhesive can supplement that support or whether bonding introduces unacceptable compatibility and moisture risks.
Are adhesives suitable for bonding one bathroom mirror to another?
Adhesive-only installation is acceptable only when the new mirror, backing, existing glass, adhesive, preparation, joint geometry, curing conditions and wet-area exposure are approved as one system. Generic construction adhesive, unknown silicone, unapproved tape or a full-spread bond can damage the backing, trap moisture or conceal progressive failure.
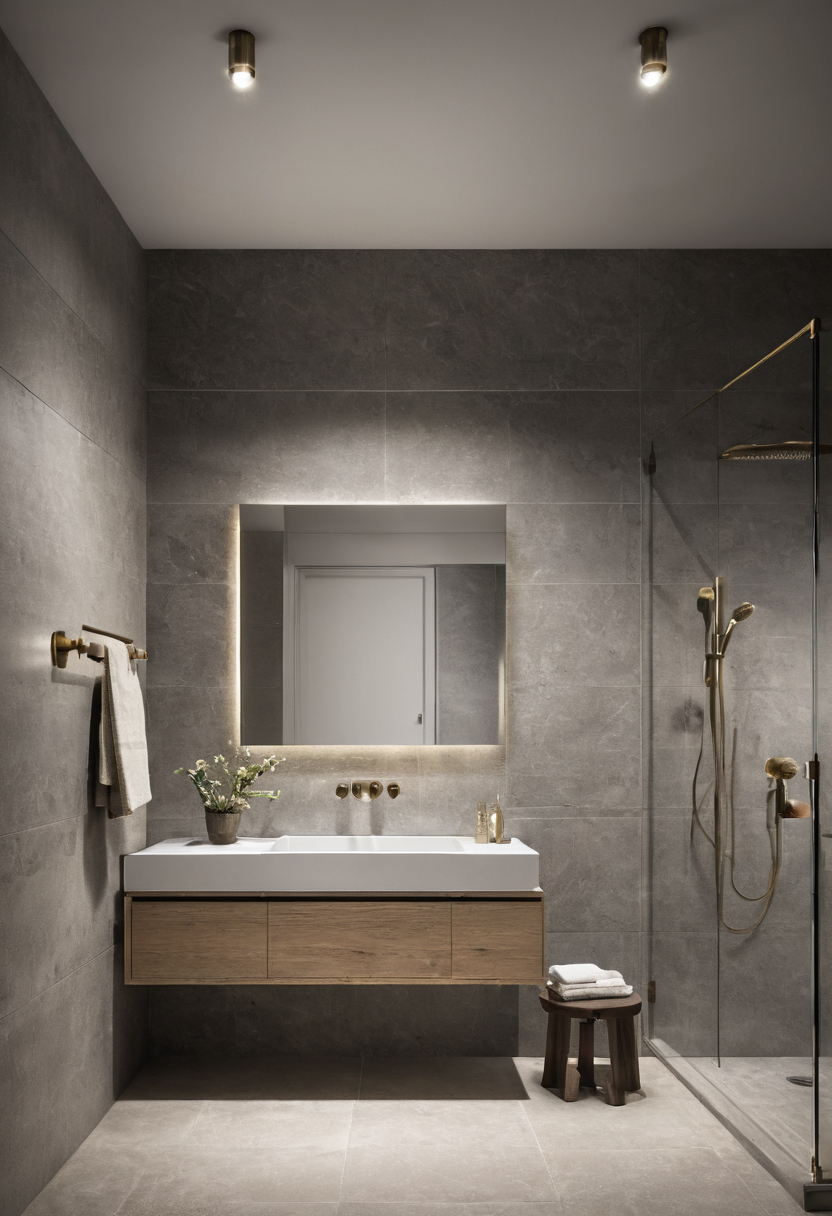
Are adhesives suitable for bonding one bathroom mirror to another shown with finish, fixture, and clearance relationships visible.
- Obtain written compatibility confirmation: The mirror supplier and adhesive manufacturer must approve bonding the specified backing to the existing glass, including any safety film, coating, primer or residue.
- Verify installation limits: Record the adhesive type, bead orientation, required coverage, supported weight, initial grab, cure period, temperature, humidity and ventilation conditions.
- Prepare both surfaces correctly: Follow the specified cleaning method and observe prohibitions covering solvents, acidic sealants, primers, tapes and household glass cleaners.
- Support the mirror during curing: Temporary blocks or a designed support must carry the mirror until the adhesive reaches its stated capacity. Confirm whether permanent clips, a rail or a bottom channel remain necessary.
- Allow differential movement: Glass, metal frames, backing boards and wall substrates respond differently to heat and moisture. Adhesive beads and perimeter joints must accommodate movement without loading mirror edges.
- Protect the warranty: Confirm how field-applied adhesive, edge sealer, safety film, spacers or tape affects coverage for backing failure and corrosion. The US Environmental Protection Agency identifies building materials as potential indoor VOC sources and recommends increased ventilation during use of VOC-emitting products.
How should a bonded mirror-on-mirror assembly manage drainage and ventilation?
The rear cavity needs the gap, open edges, spacer positions and adhesive bead direction required by the manufacturers. Vertical beads commonly preserve downward drainage better than enclosed pockets, but the approved system detail governs. Frame profiles, LED housings and bottom sealant must not create a concealed trough.
Bathroom ventilation should be checked through extraction performance, fan controls, room-heating patterns and observed condensation rather than assumed from the presence of a fan. The EPA advises correcting condensation and damp areas promptly to limit mold growth. Cleaning instructions should prevent spray or wash water from being driven behind the mirror while preserving drainage openings.
What protects bathroom mirror edges from blackening and corrosion?
Edge durability depends on intact backing, clean fabrication, compatible sealing, controlled chemical exposure, drainage and ventilation. A copper-free or enhanced protective backing may improve the specification, but that description alone does not guarantee performance in a poorly detailed cavity.
The mirror supplier should define factory or site edge sealing, approved products, curing requirements and warranty conditions. Keep cut edges clear of wet ledges, persistent splash points, incompatible sealants and metal channels that retain liquid. Use approved cleaners and wipe lower edges dry rather than allowing chemical-laden water to collect. Lighting, wiring, driver access and demisting must then be coordinated within the same rear cavity.
How should lighting, wiring, and demisting be coordinated behind a mirror on a mirrored bathroom wall?
An illuminated or demisting mirror must be designed as bathroom electrical equipment, not added after the glass layout is fixed. Product rating, bathroom zone, supply voltage, circuit protection, switching, driver location, cable route, heat dissipation, earthing or double-insulation requirements and service access must comply with the manufacturer’s instructions and the electrical rules adopted in the project jurisdiction.
Where can a junction box or LED driver sit behind a bathroom mirror?
A junction box, transformer, connector or LED driver can occupy the rear cavity only if its enclosure and location are permitted for that bathroom zone and remain accessible for inspection and replacement. An ingress-protection rating on the mirror does not automatically approve every concealed component or cable termination. The electrician must verify the exact mirror model, electrical class, certification or listing, voltage, wattage, protective devices, isolation method and proximity to the basin, bath, shower or wet-room spray.
Glazing and electrical requirements must be checked separately. For example, Delaware’s hazardous-location glazing provisions expressly cover shower doors and bathtub enclosures, and the state chapter supersedes local provisions addressing the same glazing subject matter. That rule does not replace jurisdiction-specific electrical requirements for bathroom equipment.
Service access should be drawn before glass fabrication. A removable mirror may lift from a rated rail or cleat, but the removal path needs enough clearance to disengage the hardware without striking taps, lighting or the ceiling. The supply cable should not carry the mirror’s weight, and connectors should not become the only restraint once the mirror is released. A permanently bonded face that traps a finite-life driver or covered junction box creates destructive maintenance.
The electrical design should identify who may open the enclosure. Hardwired mirrors, demister pads, new circuits and bathroom-zone connections commonly require a licensed or otherwise legally authorised electrician, depending on local law.
Should a bathroom light be above the mirror or provide vertical facial illumination?
Vertical facial illumination is usually more useful than a single bright fitting above the mirror. A top-mounted lamp can cast shadows beneath the eyes, nose and chin, while side lighting or a well-diffused perimeter source distributes light more evenly across the face. Backlighting alone often functions as ambient bath decor because much of its output falls onto the wall rather than toward the user.
The lighting designer should assess vanity width, user heights, mirror size, ceiling height, colour rendering, colour consistency, dimming and reflected brightness from the full mirrored wall. Side or perimeter sources need diffusion and shielding so individual LEDs do not appear as repeated points. Separate switching for task, ambient and night lighting provides better control than one high-output circuit.
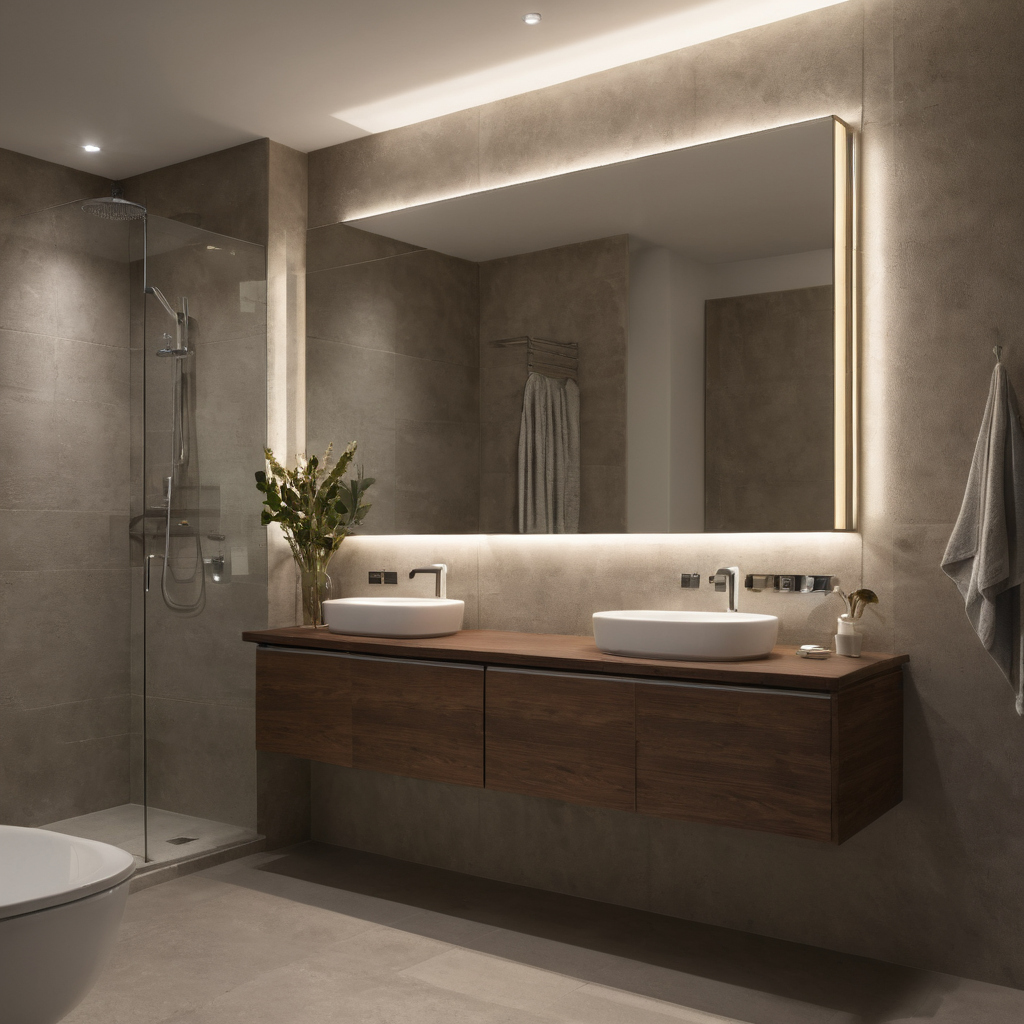
How should lighting, wiring, and demisting be coordinated behind a mirror on a mirrored bathroom wall shown with finish, fixture, and clearance relationships visible.
Accessible bathroom dimensions must be checked against the bathroom provisions adopted for the project. The ADA’s separate 28 to 34 inch range for dining and work surfaces should not be treated as a universal bathroom-vanity rule.
Will a demister pad clear both layers of a mirror-on-mirror assembly?
A demister pad normally clears only the heated area of the front mirror, not both mirror layers. The rear mirror may remain cool and collect condensation inside an inadequately ventilated cavity. Pad size, wattage, approved glass thickness, mounting orientation, warm-up behaviour and maximum operating temperature must match the front mirror manufacturer’s instructions.
The coordinated shop drawing should keep the pad clear of LED drivers, sensors, fixings, edges, adhesive zones and heat-sensitive frame materials. Spacers, adhesive beads and the second glass layer alter heat loss, so the completed assembly needs an operational test with the lighting and extraction running. Once performance is confirmed, examine the optical effects created by the two mirror planes.
How can a second bathroom mirror avoid distorted reflections, glare, and visual clutter?
A second bathroom mirror looks intentional when its face is flat, its frame conceals the mounting cavity, and reflected lights, seams, outlets and edges are controlled from normal viewing positions. In compact or highly reflective bathrooms, proportion and lighting tests matter more than extra brightness or a fashionable shape.
- Record dimensions: Vanity width, basin centreline, tap height, ceiling height, user eye-level range and clearances to cabinets and splashbacks.
- Define the overlay: Mirror width, height, frame depth, edge profile, rear projection and opening clearance around taps and doors.
- Map reflections: Views toward doors, toilets, showers, ceiling lights, outlets, exposed LED points and unfinished perimeter edges.
Why do two mirror planes create double edges and repeated reflections?
The cavity between the reflective faces allows the rear mirror to appear around the overlay, especially from the doorway, bath, shower or an oblique vanity position. Greater projection usually makes the repeated edge more conspicuous. A frame overlap, opaque rear backing, deliberate shadow gap or perimeter mask can hide the second plane.
A full-size cardboard template with the proposed frame depth provides a useful sightline test. Add temporary lighting samples to assess doubled highlights, uneven backlit halos, glare, colour temperature and apparent brightness from each normal viewing position.
Which frame finishes withstand bathroom humidity without staining the mirror?
Specify the frame as a complete material system rather than a colour. Aluminium, stainless steel, brass, plated steel, timber, painted composite and their coatings require supplier confirmation for bathroom humidity, cleaning products and warranty conditions. Isolate dissimilar metals, prevent wet ledges and keep incompatible sealants away from mirror backing and edges.
Polished and plated finishes show spotting, while lacquered, powder-coated, brushed and timber finishes have different repair limits. Guidance on using metallic finishes in interior design can coordinate appearance, but the bathroom specification must also define cleaning, corrosion resistance and replacement.
A mirror-on-mirror bathroom installation needs a coordinated specification, sequence, and handover
The mirror-on-mirror bathroom detail should be documented before ordering because glass fabrication, structural support, electrical rough-in, waterproofing, frame depth, lighting position and service access are interdependent. Coordination prevents trapped wiring, damaged coatings, unsuitable substitutions and destructive work after the custom mirror arrives.
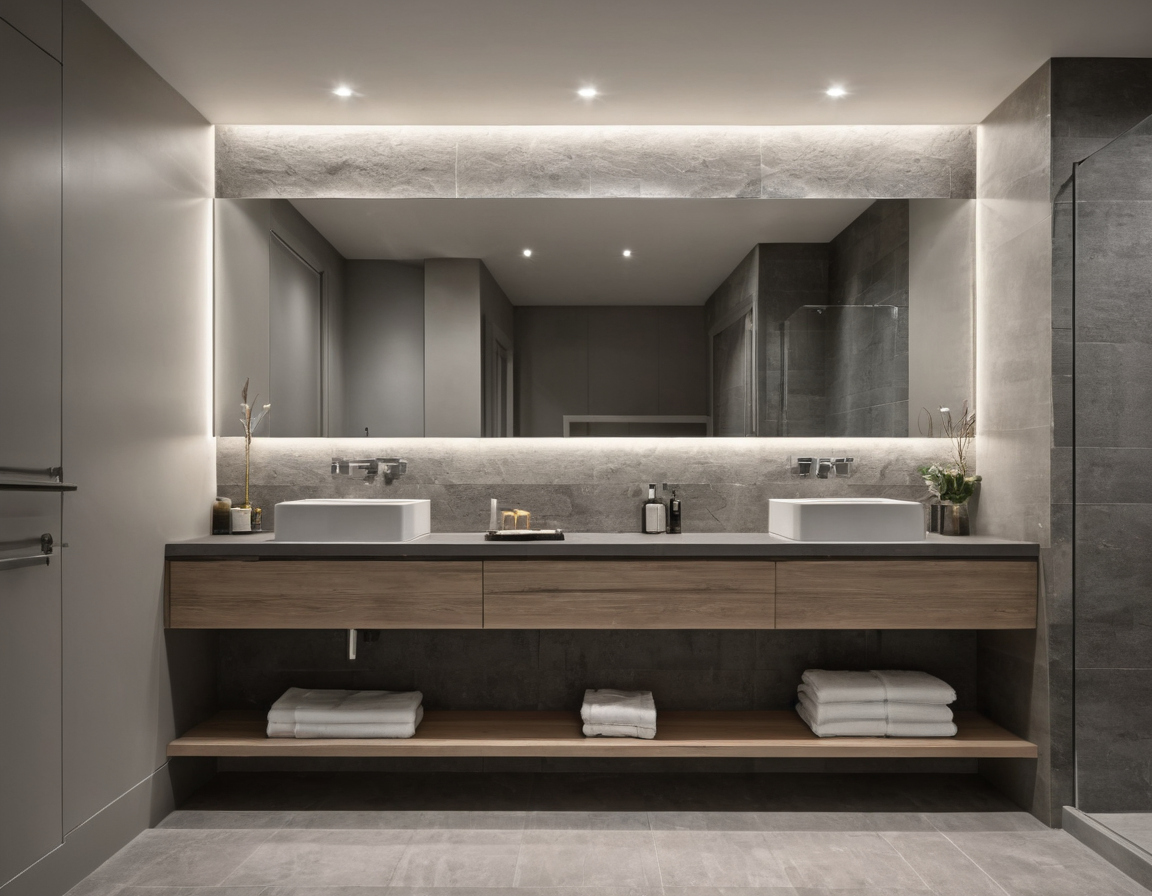
A mirror-on-mirror bathroom installation needs a coordinated specification, sequence, and handover shown as an editorial reference for proportion and finish coordination.
ENERGY STAR LED guidance states that qualified LED lighting uses at least 75 percent less energy and can last up to 25 times longer than incandescent lighting. Long-lived LEDs do not remove the need for replaceable drivers and accessible connections. Proceed only when the assembly can be supported, serviced, cleaned and eventually removed without guesswork.